
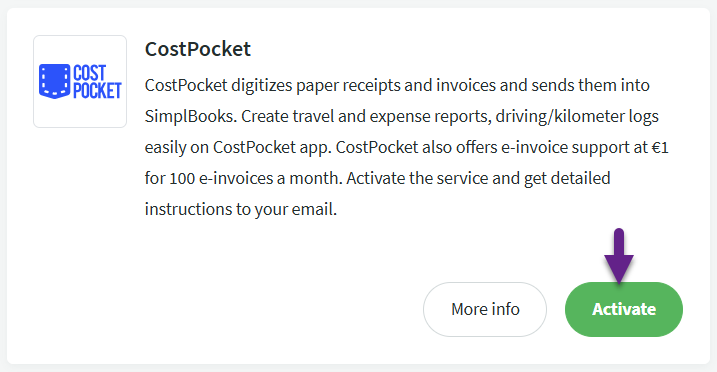
Activating the CostPocket integration in the SimplBooks environment takes only a few minutes, but digitizing expense documents can save hours of work time annually, allowing for more efficient use of that time.
Activation: Settings -> Integrations -> CostPocket
After clicking the “Activate” button, a page will open where you can review the data. The fields are prefilled with the information from the user profile and company profile. If the email address has not been previously added as a user in CostPocket, it will now be added automatically.
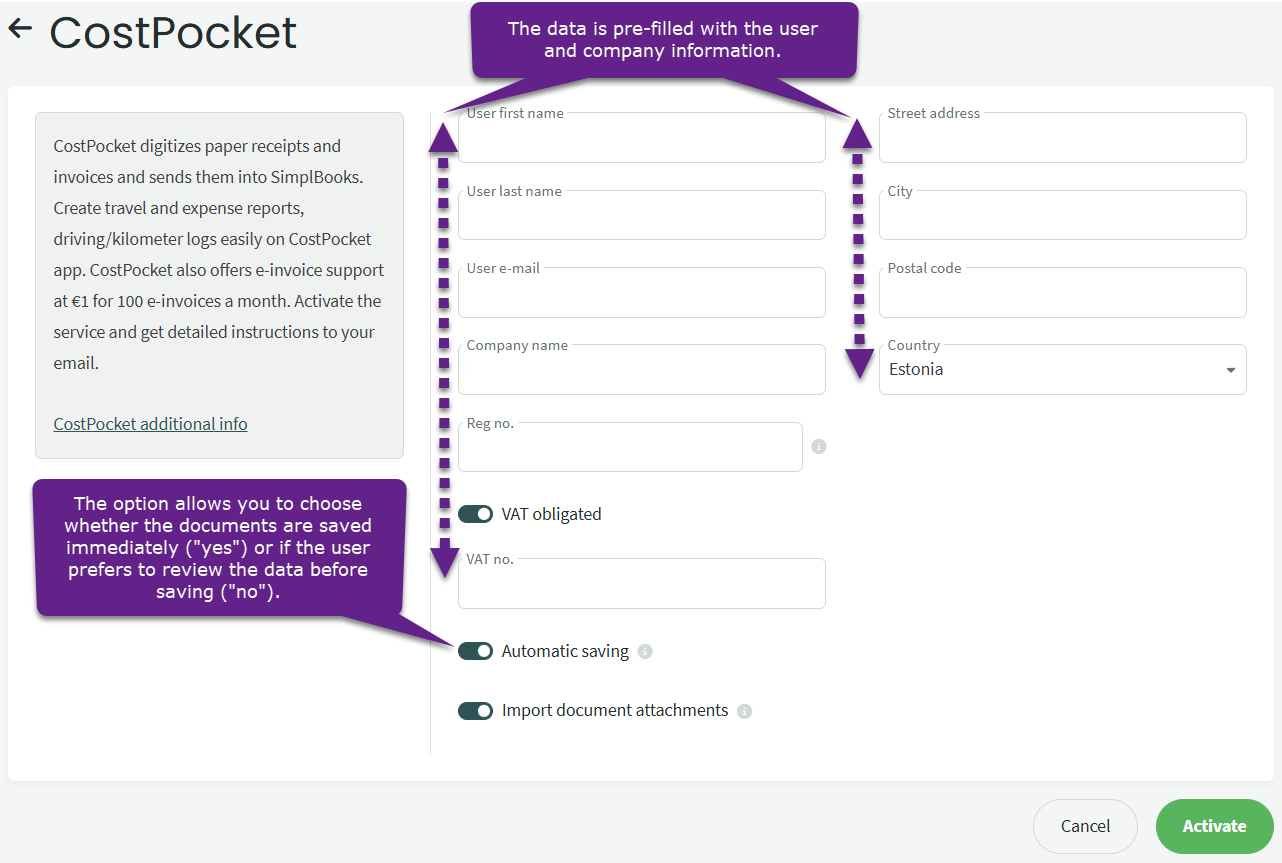 It is important to note that you can choose between automatic saving of processed documents or keeping all documents on hold for review.
For suppliers entered in SimplBooks, it is possible to assign a related expense account, which reduces the need for manual data corrections. However, this may not always be sufficient and adjustments may still be necessary (*). Therefore, each user can make a decision based on their company’s specific needs. This setting can also be changed later.
* If automation rules are enabled in the CostPocket environment, they will be used as the primary option for assigning expense accounts.
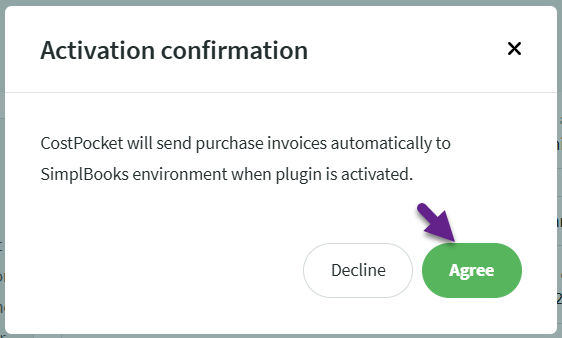
After clicking the “Activate” button, one final confirmation click is required to approve the consent:
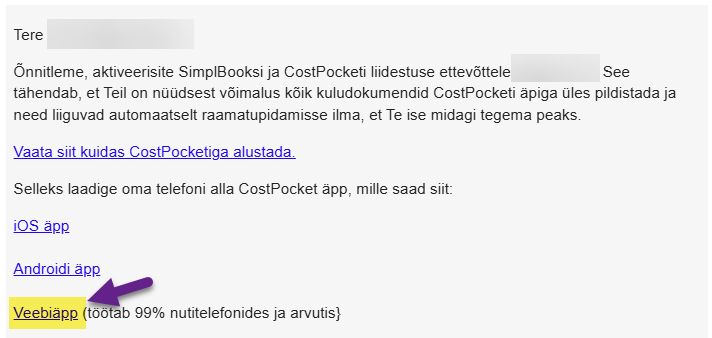
Well done! You have successfully activated the integration on the SimplBooks side!
- You should now have received an email with information about the activation of the integration. Click on the “Web App” link to get started and create your user account.
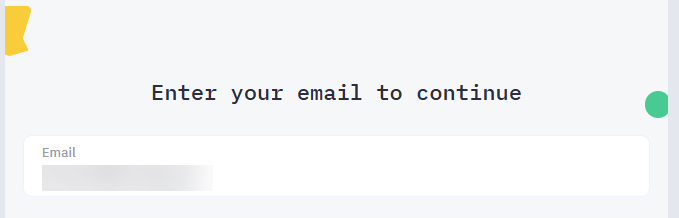
- Next you need to verify your email address:
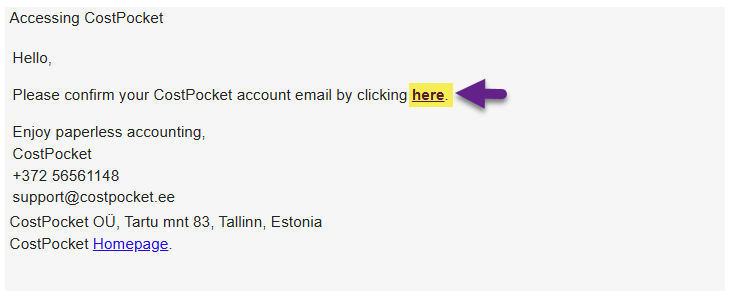
- Check your inbox again and click on the link to complete the verification
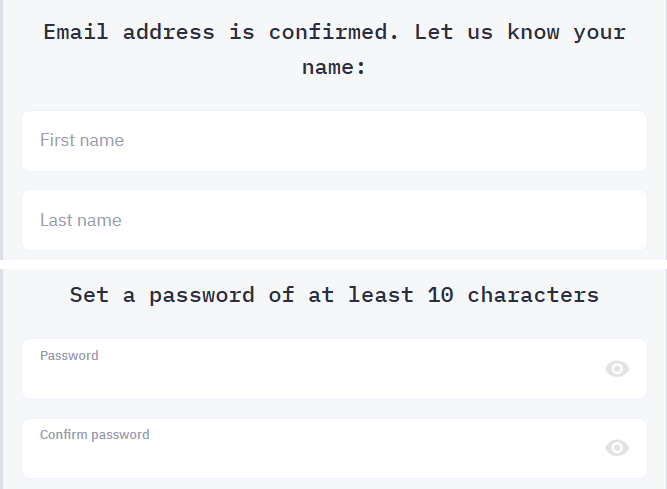
- Just a little more, enter your name and choose a password (at least 10 characters).
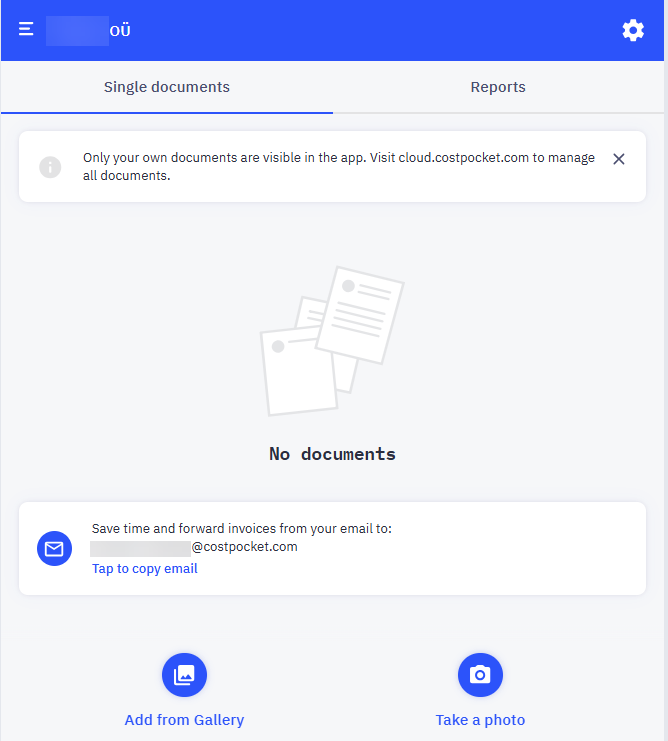
- Welcome to the community of modern people! 🙂

Now you can log into the CostPocket environment and start the digital life of expense documents.
You can find answers to questions related to using CostPocket on their .
If you have any additional questions, write to us at support@simplbooks.ee
Leave A Comment?