The implementation of SimplBooks software is quick and easy! The entire process, from start to actually beginning work, takes about 5 minutes.
1 To join, go to the SimplBooks homepage and click the green “Join for free” button.
2 Fill out the registration form, review the terms of service, and click the “Create account” button.
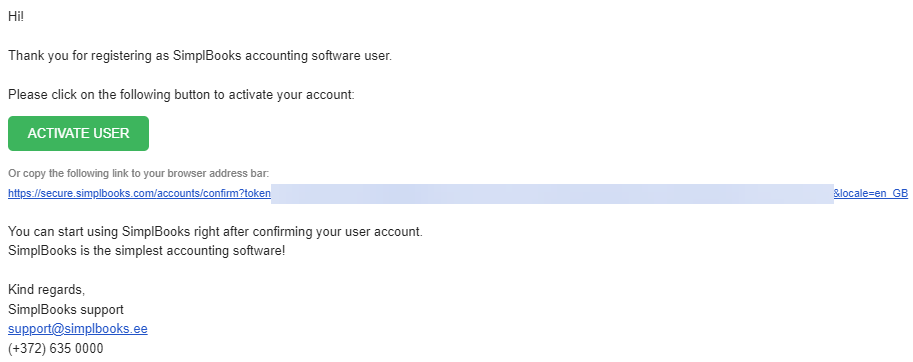
After clicking the “Create account” button, an automatic email will be sent to you with a link to confirm your account registration.
You can also register using an existing Google account.
3 Confirm your account by using the link provided in the email.
By clicking the account activation link in the email, you will be redirected to the login form with a message saying “Registration confirmed,” assuming everything went smoothly. However, the link in the automatic email should be clicked within a reasonable time frame, which is one week, after which the security code in the link will expire.
4 Enter the email address and password you used during registration and click “Log in.”
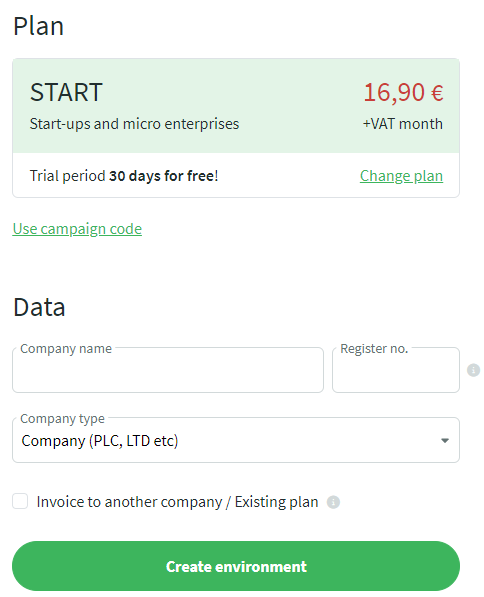
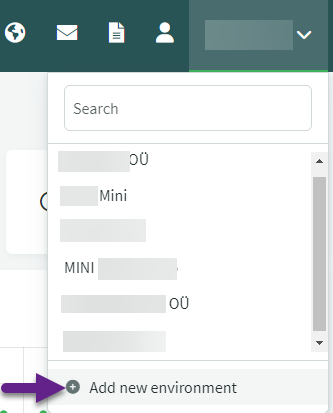
If you are a new user or no environment is linked to your account, you will automatically be redirected to the page for creating a new environment.
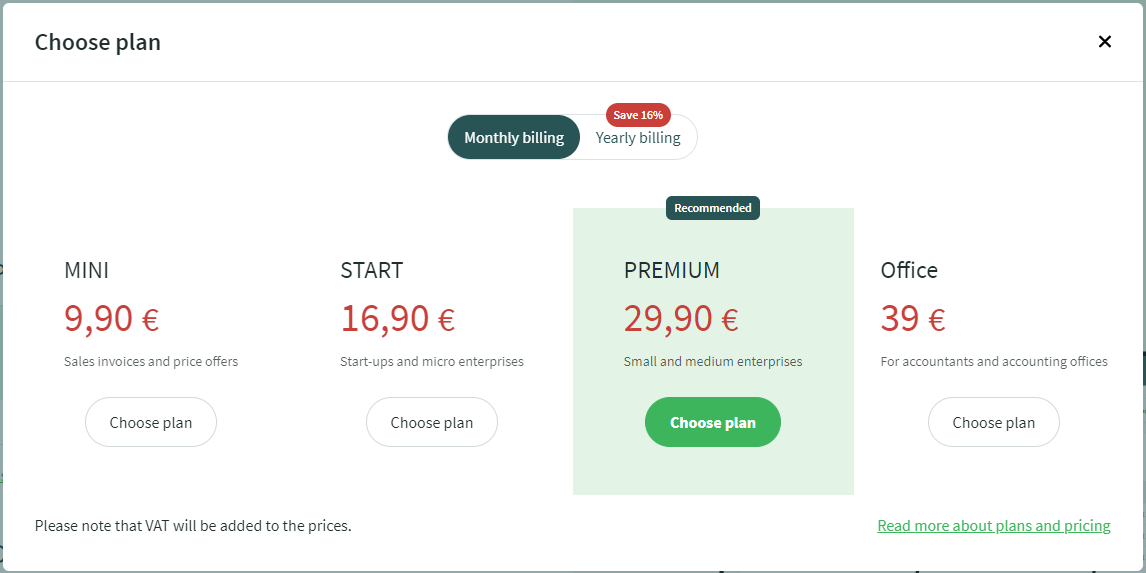
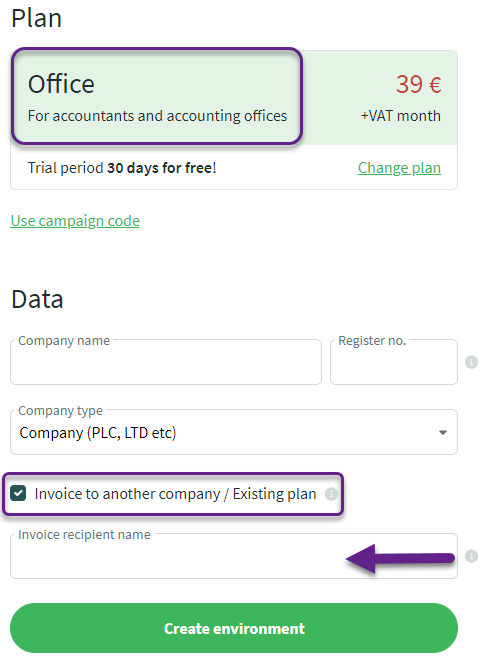
5 By default, the Start package is selected, which you can change by clicking the “Change plan” link.
Once you have selected a package, you will be redirected back to the previous view.
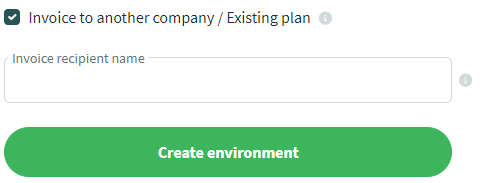
6 If the invoice payer is not the company for which you are creating the environment, check the box “Invoice to another company/Existing plan.” Enter the name of the paying company there, and for existing customers, select from the list that opens when you click the field above.



Leave A Comment?